
DIY: Charcoal art sticks & Stick pens
Did you miss Kate Shirley’s DIY workshops at the Fest vun der Natur earlier this month? We’re happy to share a few of her nature DIYs so you can try them out at home! These were first published in Issue 2 - Into the Forest (with a few extra DIYs available online for annual subscribers!) Give them a try and let us know how it goes.
CHARCOAL ART STICKS
To me there is so much magic in creating something, almost for free, that we would normally assume we need to buy.
YOU NEED
• Sticks - pine, willow and grape vines are best for this activity, though do experiment!
• A metal tin with a tight-fitting lid
• A nail & hammer
INSTRUCTIONS

Drawing with the finished charcoal sticks
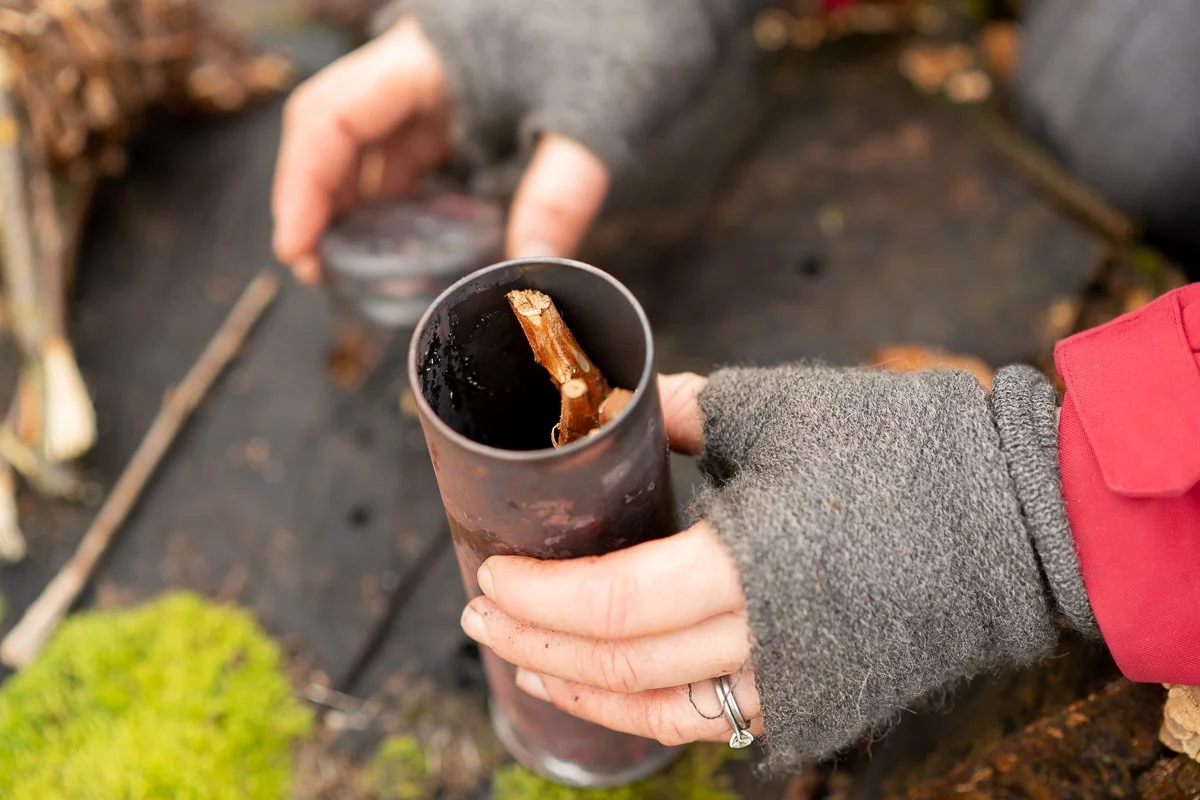
Cut your sticks to fit the length of your tin. Remove the bark from the sticks. The back of a knife can be good for this and it is easiest with fresh sticks. You are left with light coloured sticks. Pack them tightly into the tin and tie with wire if the lid is not secure.
Make a fire - put your tin in your fire or next to your burning logs. As your mini tin kiln heats up, a flame will come out of the holes - this is the wood gases burning.
Once the flame disappears, the wood has become charcoal. Leave the kiln in the fire until it has all fully cooled. If you take the lid off too soon, the charcoal will turn to dust on rapid exposure to oxygen. Enjoy your homemade charcoal sticks!
CHARCOAL INK
These beautiful charcoal sticks can also be made into ink.
YOU NEED
Charcoal sticks
Honey, glue or gelatin
Pestle and mortar
INSTRUCTIONS
Grind one stick at a time, using a pestle and mortar, until you have a fine, flour-like powder.
I suggest adding a binder so that the charcoal and water mix together more efficiently, and it will make the ink much more satisfying to use. You can use gelatin, glue or honey here. For the gelatin, mix 1/8 teaspoon of gelatin granules into 240ml hot water so it dissolves. If you use honey or glue, mix around 1 part honey to 7/8 parts water.
Add 1 tbsp of charcoal powder to the pestle and mortar. Add 1 tsbp of the binder-water mix. Grind the water and powder together. At first the charcoal will float but be patient and keep grinding, for at least 10 minutes. Repeat with the next tbsp of charcoal and water.
Bottle your ink with a lid to prevent it drying out.
Play around with the quantities! It comes down to personal preference and you can add more water to make the ink thinner, or more binder to get the consistency you like.
STICK PENS & BRUSHES
Sometimes simple is best and you can simply use your ink with a stick you find on the ground as a dip pen! You can also whittle the end of the stick to make a point or nib.
Stick paint brushes can be made from twigs of trees with fibrous branches.
YOU NEED
Elm, birch, beech and maple all have long enough wood fibres. Make sure you can safely identify the twigs you need, avoiding anything toxic.
INSTRUCTIONS
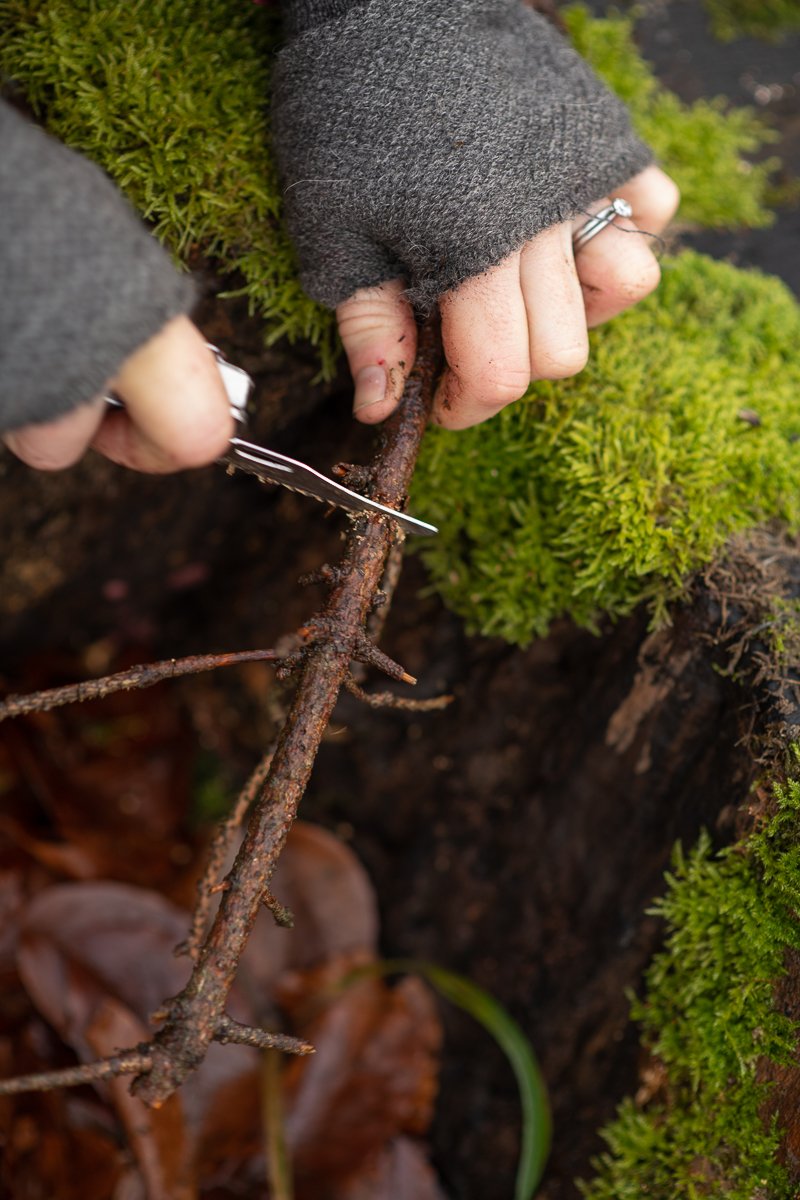
Cut a stick as long as a pencil. Remember to ask the tree’s permission and to say thank you!
Use a penknife to make a slice around the twig, 2.5 cm or so from the end. This is called a 'stop cut'. With the knife at a shallow angle, strip the bark from the slice to the end.
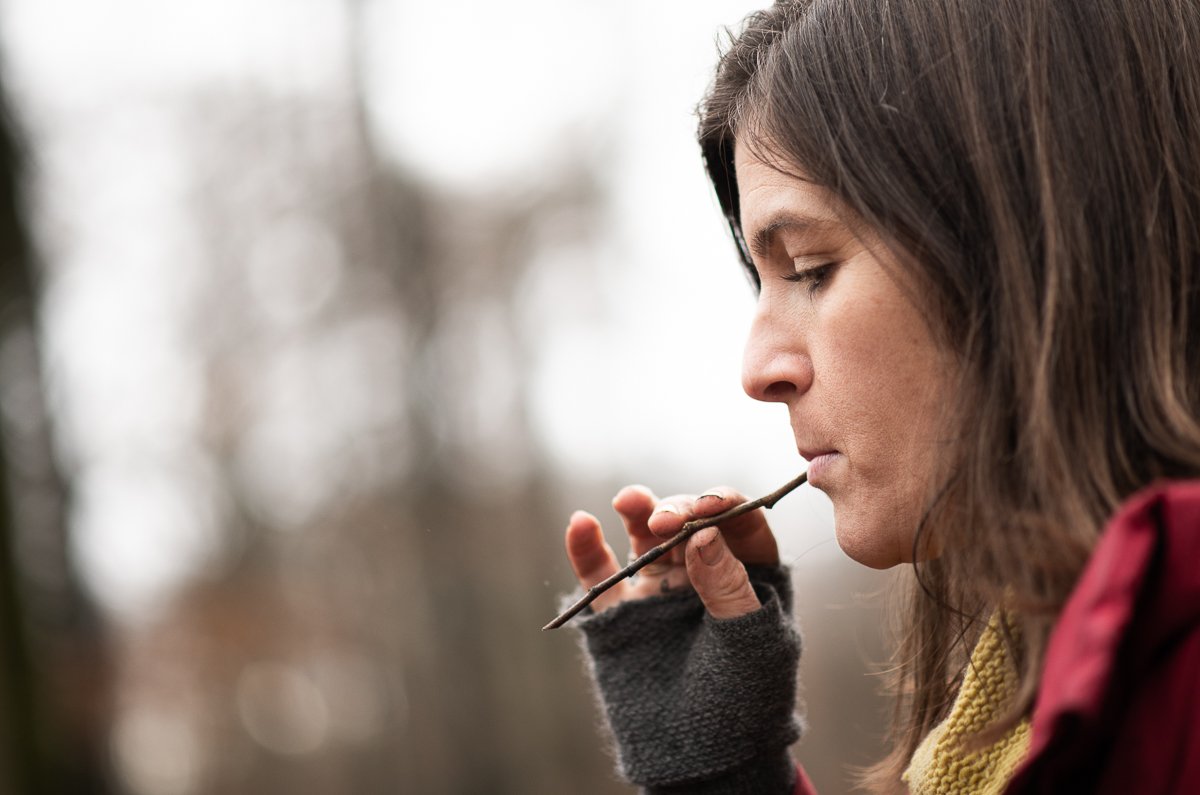
Chew the twig. First you want to soften the fibres so allow it to soften gently in your mouth, before applying a little pressure with your teeth. You want to work on the outer fibres first, before trying to soften the inner ones. Gently work through each solid part of stick.
You will slowly create your own wood fibre stick - care and patience will really pay off here!
LEARN MORE
Follow Kate on Instagram @kate_wildfreedom for daily musings and foraging inspiration. And check out Issue 2 - Into the Forest to learn more about foraging and find more of Kate’s DIY recipes and activities.